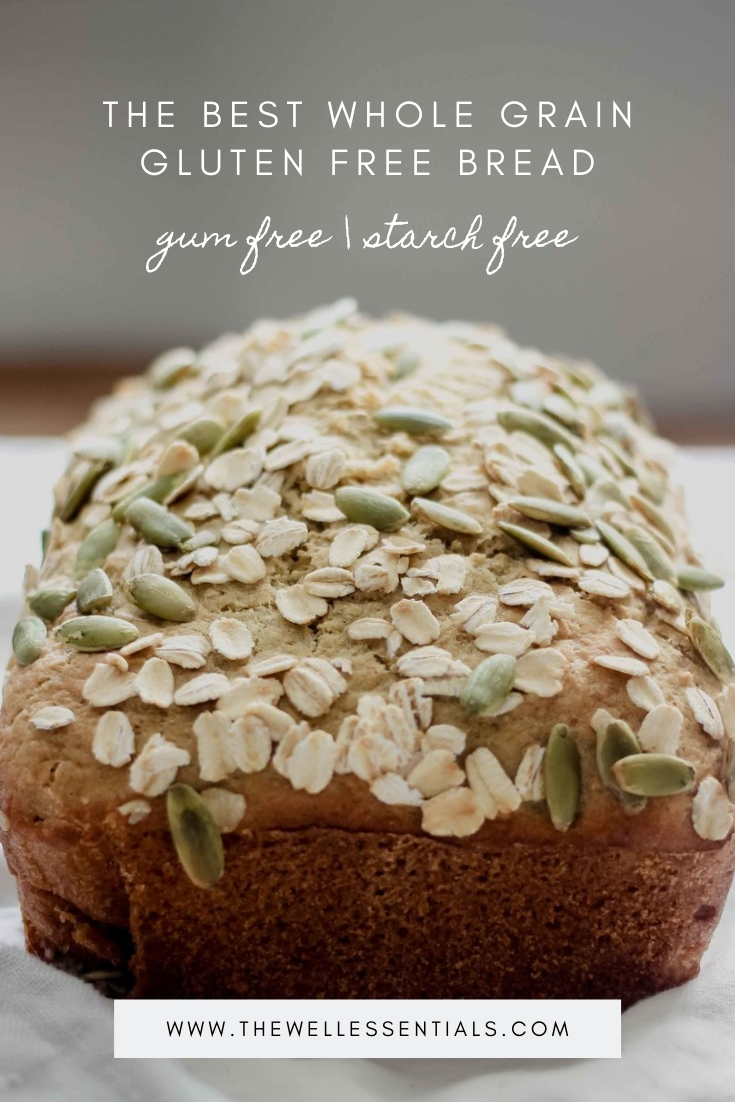
This homemade gluten free whole grain bread is filled with whole grains, healthy fats, and can be made at home without the help of a bread maker. It is also simple enough to make that a new cook or someone new to gluten free baking I think will be more than capable of handling this recipe.
If you need to follow a gluten free diet then you know that finding a gluten free bread that is as delicious and holds up as well as regular bread is pretty tough to come by. Ever since I found out I had celiac disease and needed to go gluten free I have been on the search for a truly delicious whole grain gluten free oat bread, and until now I have for the most part come up empty-handed.
While it is wonderful that there are so many gluten free options for people who need to be gluten free today, I also think that in many ways we have just replaced processed gluten-containing products, with other even more processed gluten free products that people for some reason think of as being “healthy”.
Gluten Free Does Not Always Mean “Healthy”
Let me make something clear, just because something is gluten-free does not mean it is “healthy”. While a gluten-free, or a limited gluten-containing diet may indeed be healthier for some people (like folks with celiac disease, or non-celiac gluten sensitivity) that does not mean that all gluten-free products are healthy for us.
Gluten free bread is a perfect example of this, with most commercially produced gluten free bread brands being nutritionally poor, and filled with a variety of gums and starches that are far from “healthy”. In fact, I would argue that when it comes to things like baked goods, often times the gluten-free products are filled with more additives, and are more processed than the original option they are trying to emulate, and bread is the perfect example.
Bread Making Should Be Simple
When it comes to making bread there are actually very few ingredients needed: flour, yeast (sometimes this isn’t even needed), water, eggs, and salt. Depending on the bread one or two other ingredients may be added, or the eggs may be removed, but generally speaking, an incredible bread can be made with less than five ingredients, what matters most is the flour.
This is what makes gluten free baking in general so difficult, because arguably the most important and commonly used ingredient is also the main issue. As a result, gluten free baking has evolved into a complicated science that involves many refined starches, gums, and processed grains that don’t result in a nourishing final loaf of bread. While many people have accepted that gluten free baking has to involve many of these nutritionally void ingredients, I don’t believe that to be the case.

Whole Grain Gluten Free Flours
For the past decade or so we have been adding and combining gums, starches, and other non-gluten containing flours to try and get an edible end product, but it’s not enough for your bread to just taste half-way decent, it has to also be good for your body. Simply being gluten free is not good enough — we can do better, and we need to demand that gluten free bread brands also improve on the nutritionally quality of the food they produce.
When it comes to choosing a whole grain gluten free flour there are actually a lot of options to choose from, and that have been used for centuries before wheat became a staple flour around the world.
-
Oat Flour: Oat flour is naturally gluten free, however it has a high cross contamination rate with wheat flour (meaning that it is often grown or processed in the same areas as wheat), which is why it is important to purchase a “certified gluten free” brand that has been tested for cross contamination.
-
Millet: Packed with nutrition and flavor, millet has a similar structure to wheat (minus the gluten) and offers a sweet and savory flavor that makes it great for baking.
-
Buckwheat: While the name may be deceptive, buckwheat flour is actually gluten free and is a denser, stronger tasting flour that is great to use in baked goods — particularly pancakes, bread, and waffles.
-
Teff Flour: Full of protein, teff is a flavorful gluten free flour that is native to Ethiopia and results in denser breads and baked goods.
-
Corn Flour: Commonly found throughout Central America, corn flour is a flavorful flour that can be used to make homemade tortillas, bread, and denser baked goods.
-
Quinoa Flour: One of the most nutrient rich flours coming from South America, quinoa flour is an excellent option to use in gluten free baking
-
Brown/White Rice Flour: Found in many traditional Asian recipes, brown and white rice flour is often used to make noodles, and other sweet baked goods. It is also often combined with other denser gluten free flours to lighten up a flour blend for baking.
-
Almond Flour: While almonds aren’t technically a grain, almond flour has been used in many cultures to create decadent grain-free breads and baked goods. Almond flour can be found in traditional Mediterranean and South American baking.

Redefining gluten Free Baking Nutritional Standards
To say that I am proud of this recipe would be an understatement, because honestly this recipe was probably one of the most challenging recipes to nail down, and also one that I truly think will help normalize bread for people with celiac disease or other gluten sensitivities.
After many many flops I finally ended up with what I would argue is going to be the best gluten free whole grain bread recipe you will ever eat — not to mention one of the best for you.
Bread is such a staple food and more than anything I hope that this recipe will allow people with celiac disease and gluten sensitivity to enjoy truly delicious, whole grain gluten free bread that is good for their bodies, and delicious enough for the whole family to enjoy.
This Whole Grain Gluten Free Bread recipe Is:
This homemade gluten free whole grain bread is filled with whole grains, healthy fats, and can be made at home without the help of a bread maker. It is also simple enough to make that a new cook or someone new to gluten free baking I think will be more than capable of handling this recipe.
-
Rich In Fiber
-
Whole Grains
-
Slightly nutty flavor
-
Denser texture
Gluten Free Bread Making Variables
Before I get into this recipe I do just want to note that depending on where you live/the quality of the flour you buy, the temperature of the room you are baking in, how fresh your yeast is, and literally the level of humidity in the air your bread could turn out different than mine.
Making bread from scratch can be affected by so many factors, and sometimes my bread will flop for no reason what so ever. But overall this recipe I have great success with (haven’t had a poor rise yet, fingers crossed)
I also would not recommend making any substitutions to this recipe. While many people have asked if certain ingredients can be switched, because gluten-free baking is very temperamental I cannot say for sure what would happen if the recipe was tweaked with different (similar) ingredients.
While you are welcome to experiment (and if you do please leave a comment with what worked!) I developed this recipe and chose each ingredient for a very specific purpose so just trust me and ideally make it as I have written it out for you below.
So how about we get to the recipe shall we?

HOMEMADE WHOLE GRAIN GLUTEN FREE BREAD recipe
Initial Rise “Sponge” Ingredients
-
1 cup warm water (110 degrees)
-
2 teaspoons dry active yeast
-
1 teaspoon honey
-
2 tablespoons psyllium husks
-
1/2 cup millet flour
-
1/4 cup white rice flour
-
1/4 cup quinoa flour
Dough Ingredients
-
1 cup gluten free oat flour
-
1/2 cup hot water
-
3 tablespoons olive oil
-
2 tsp sea salt
-
2 eggs
-
1 teaspoon honey
-
1/2 teaspoon dry active yeast (basically a pinch)
-
1/3 cup white rice flour
-
1/3 cup quinoa flour
-
2/3 cup millet flour
Toppings
-
1/3 cup pumpkin seeds
-
1/4 cup gluten free oats
-
Sea salt (pinch)
Initial Rise “Sponge” Methods
-
In a small bowl combine the millet flour, white rice flour, and quinoa flour. Whisk well until evenly combined.
-
Next, in a glass liquid measuring cup combine 1/4 cup water (110 degrees), honey, and yeast. Allow the yeast and water to sit for 10 minutes, or until the yeast has proofed and the foam has risen to the 1/2 cup line on the measuring cup.
-
Next, in a medium size bowl combine the proofed yeast, remaining water, and psyllium husks. Mix well and then add the dry ingredients to the wet ingredients.
-
Whisk together until well combined, and then cover the bowl (I use bees wax wraps) and allow the sponge to rise until it doubles in size (anywhere from 1-2 hours).
-
Notes: For yeast to proof the room temperature should ideally be 70 degrees or warmer. If the yeast does not bubble and rise it is dead and you need new yeast!
Making The Dough
-
Once the sponge had risen. Take a medium size bowl and combine oat flour, water, olive oil, and sea salt.
-
Then add eggs, honey, and yeast to the oat flour mixture.
-
In a small bowl combine the white rice flour, quinoa flour, and millet flour (hold this dry flour mixture off to the side, we will use it in a moment).
-
Add the wet oat flour dough to the risen sponge, and mix well with a spatula.
-
Then add the remaining dry flour mixture (white rice flour, quinoa flour, and millet flour) and mix well with a spatula until all the flour has been evenly combined.
-
Cover the dough and allow it to rise for about 30 minutes.
Baking The Bread
-
Preheat the oven to 375 degrees F.
-
Next, grease a standard loaf pan (9×5″) well with olive oil or coconut oil, and pour your dough into the pan pulling the dough towards the center to give the bread a rounded shape.
-
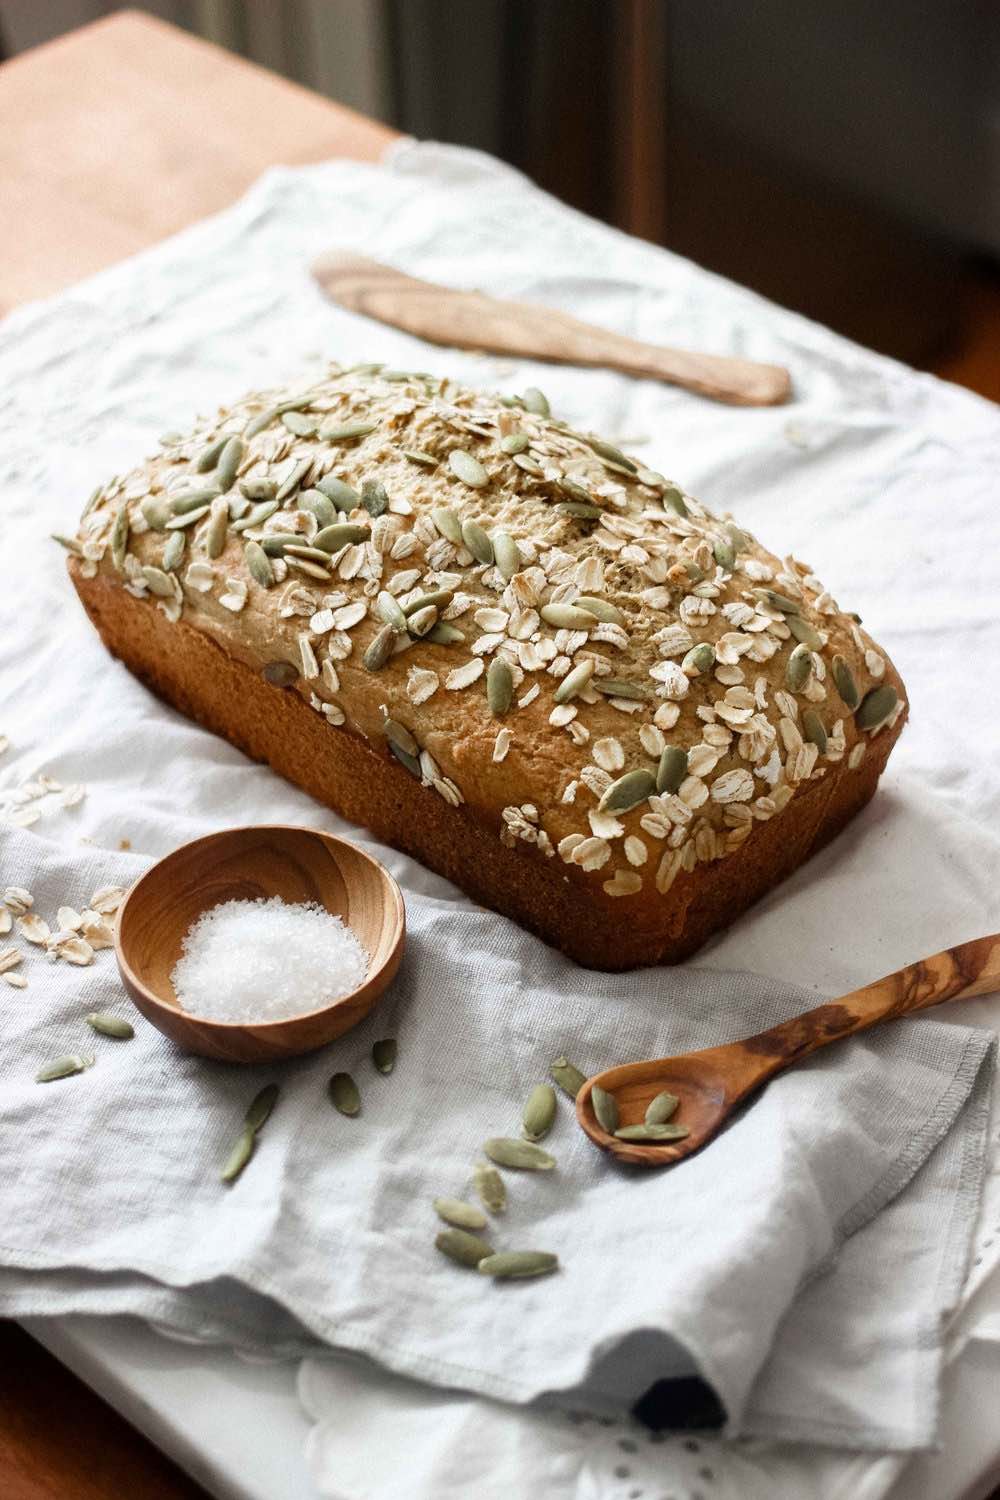
Next, top the dough with gluten free oats, sea salt, and pumpkin seeds.
-
Then with a knife put a few slashes on the top of the dough, and place in the oven for ~60 minutes.
-
Remove from the oven after roughly ~60 minutes, or once the internal temperature of the bread has reached 200 degrees.
-
Allow to cool entirely before cutting or removing from the pan (this is very important especially for gluten free bread).
-
Notes: Gluten free bread tends to dry out more quickly so store in the fridge for a few days, or cut into slices and keep for longer periods in the freezer.


